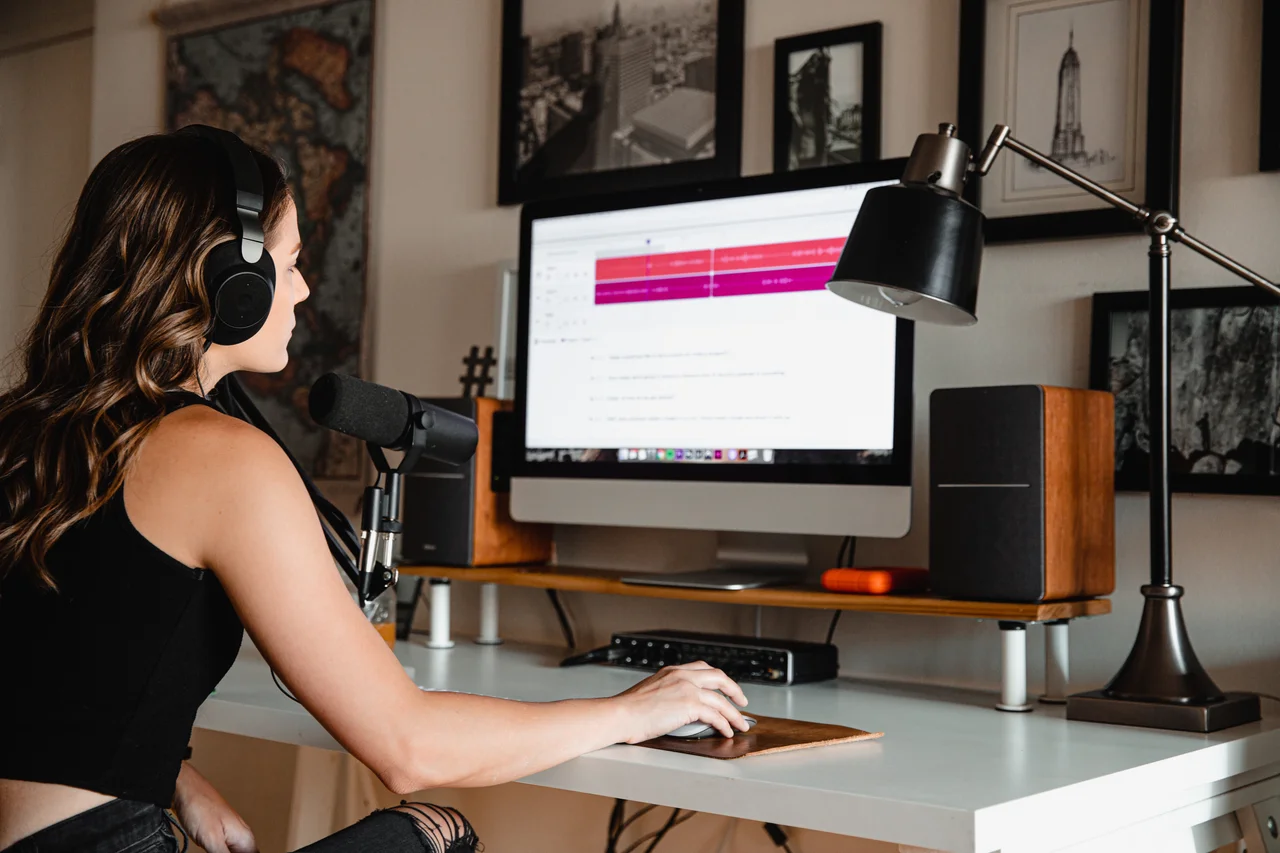
Recording your podcast episode online on the browser
Recording your podcast’s episodes, especially remotely, may seem confusing at first. Which software should you use? How to download and install it? How is it working? What’s all these settings?!
There’s quite a few software options, both free (Audacity, Garageband) and paid that you can use. If you’re a bit tech savvy and you have the energy great, you can take some time and figure all these things out.
But hopefully, for the folks that just want to skip all these complicated steps there’s a simpler way, using an online service like Riverside.
With such a service you can easily record your episodes from the browser with much higher quality than using software like Zoom.
You, and your guests don’t have to download and install anything on their computer.
Everything is done online! Even moving the audio files around is managed automatically by Riverside! There’s no need to go back and forth with your guests, trying to help them export their part correctly and sending it to you with WeTransfer. You can even live stream while you’re recording to social media platforms.
It will get transferred to you automatically, what a breeze!
Note: Riverside supports Chrome and Edge and have mobile apps for iPhone and Android. With other browsers it may not work correctly.
Singing up to Riverside
Singing up to Riverside is pretty straight-forward.
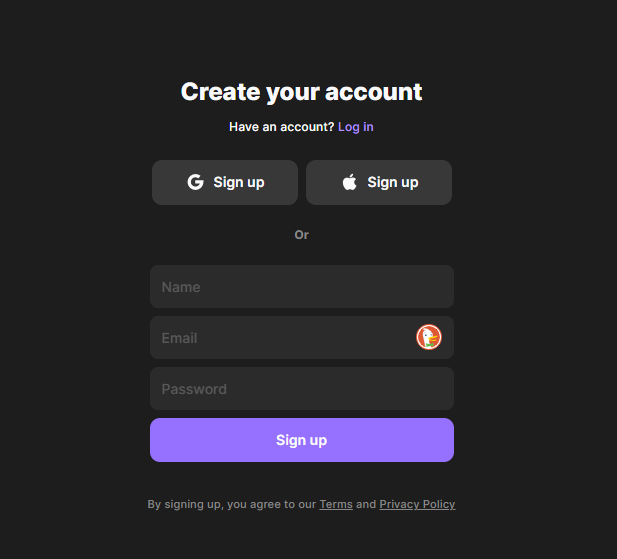
You just head on their sign up page, you enter your name, email and password and you click sign up.
Alternatively you can sign up via your Google account or Apple Id.
It doesn’t even ask you to verify your email address.
After filling the information you will land on the onboarding page, asking you some information about what you’re planning to use it for.
The dashboard
One minute later you will land to the Studios dashboard listing the studio you just created.
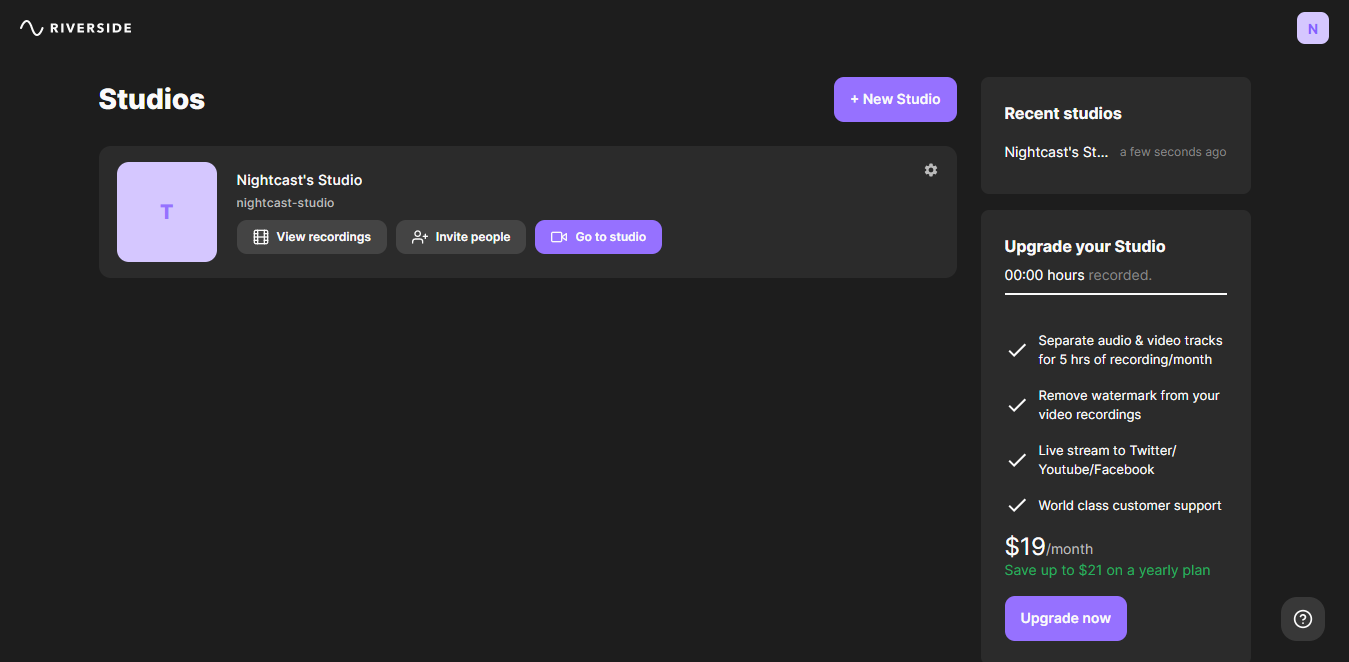
A studio is just a place you will use to record your episodes.
Click on “Go To Studio”.
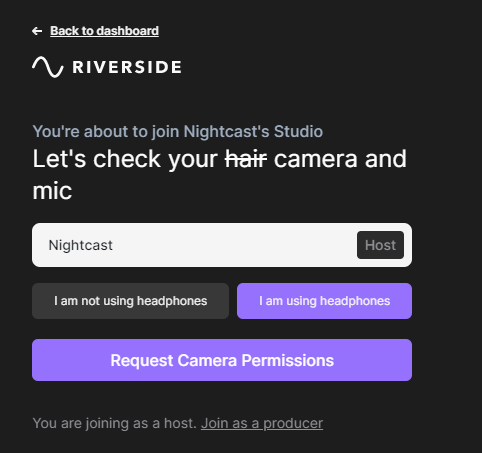
You’re about to enter the studio, so it will ask you your name and if you’re using headphones or not so it can optimize the audio (it’s always better to wear headphones while recording your episodes thought).
Enter the information, be sure to give Chrome permission to use your microphone and click the blue “Join Studio” button.
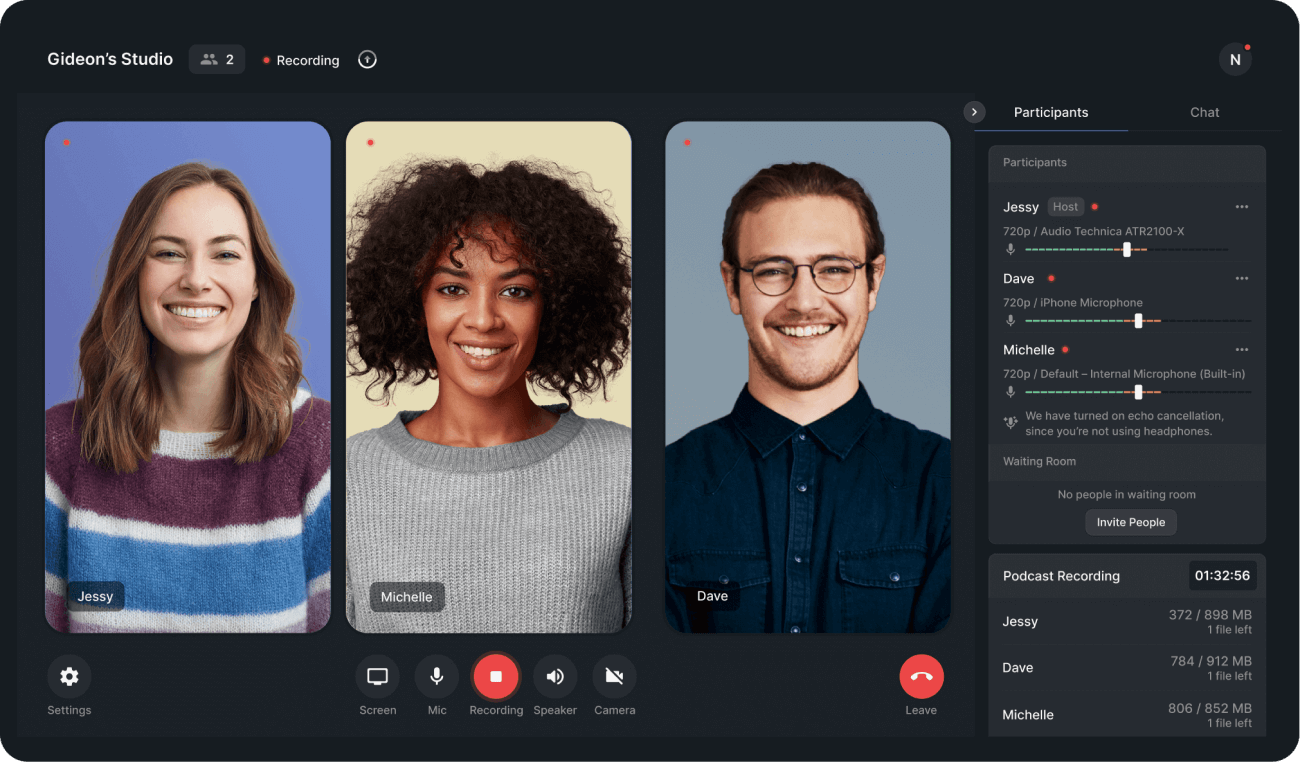
The podcast recording page
You are now on the podcast recording page, where you will recording your episode on.
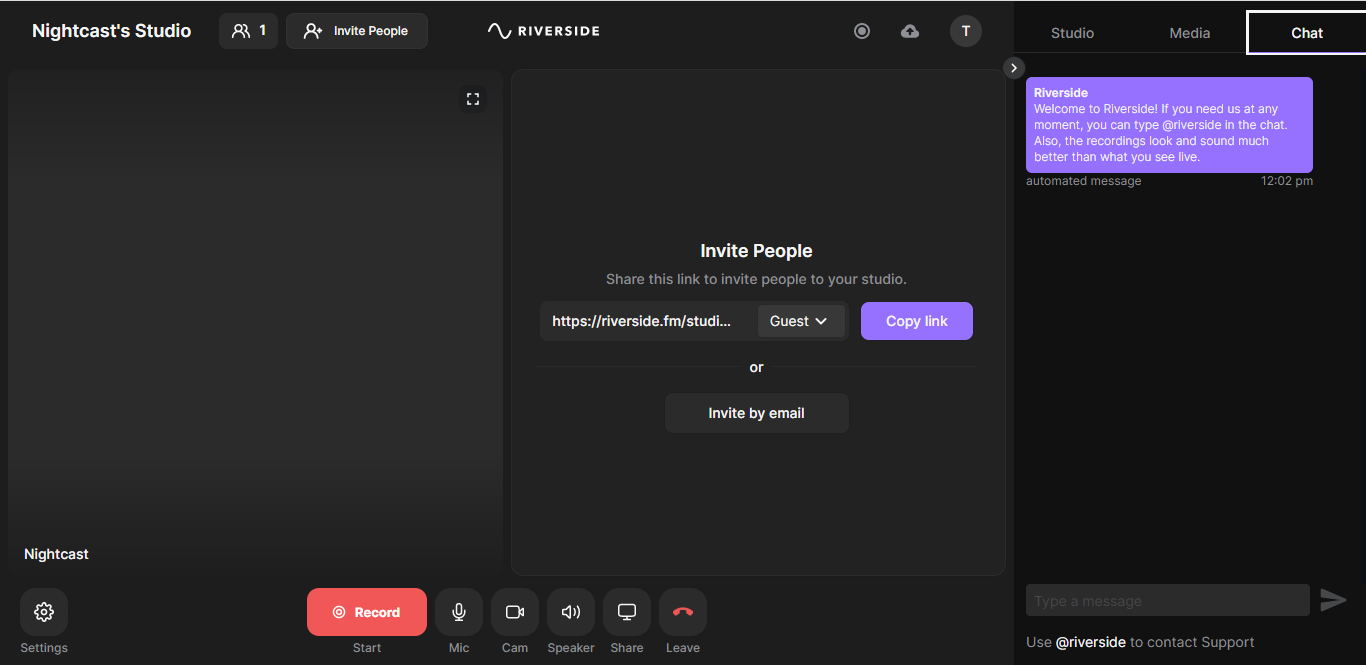
If you are not recording by yourself, on the right side there’s the “Invite People” section, where you can copy a link to give to your guests or cohosts (you can have up to 8 people recording simultaneously).
The best part is that they can use this link without a Riverside account!
They will visit in on their browser, enter their name and if they’re using headphones and they will get on the studio with you.
Just like that. This is a time saver and you will make inviting guests on your podcast easier!
Things to consider before recording on the browser
There are a couple of things you must consider before recording on the browser.
Firstly your browser must be compatible, otherwise the recording may not work correctly.
Riverside works best with Google Chrome which you most probably already have installed on your PC or Mac.
Another thing to consider is the internet connection of the participants.
In order for browser recording to work correctly you should have a stable internet connection and if you’re using WiFi to have a good enough signal. The audio files that are been uploading while you’re recording are very high quality and require that your internet works as it should be.
Also make sure you record on a quiet enough location! Microphones pick up room noises much more that you would expect! Make sure you turn off anything that makes noise near you.
Wearing headphones is important too! You don’t want to disrupt the recording by generating waves of audio feedback.
Starting the recording
So everybody is in the studio. You are ready to start recording.
There’s a big red “Record” button, no worries you will find it easily.
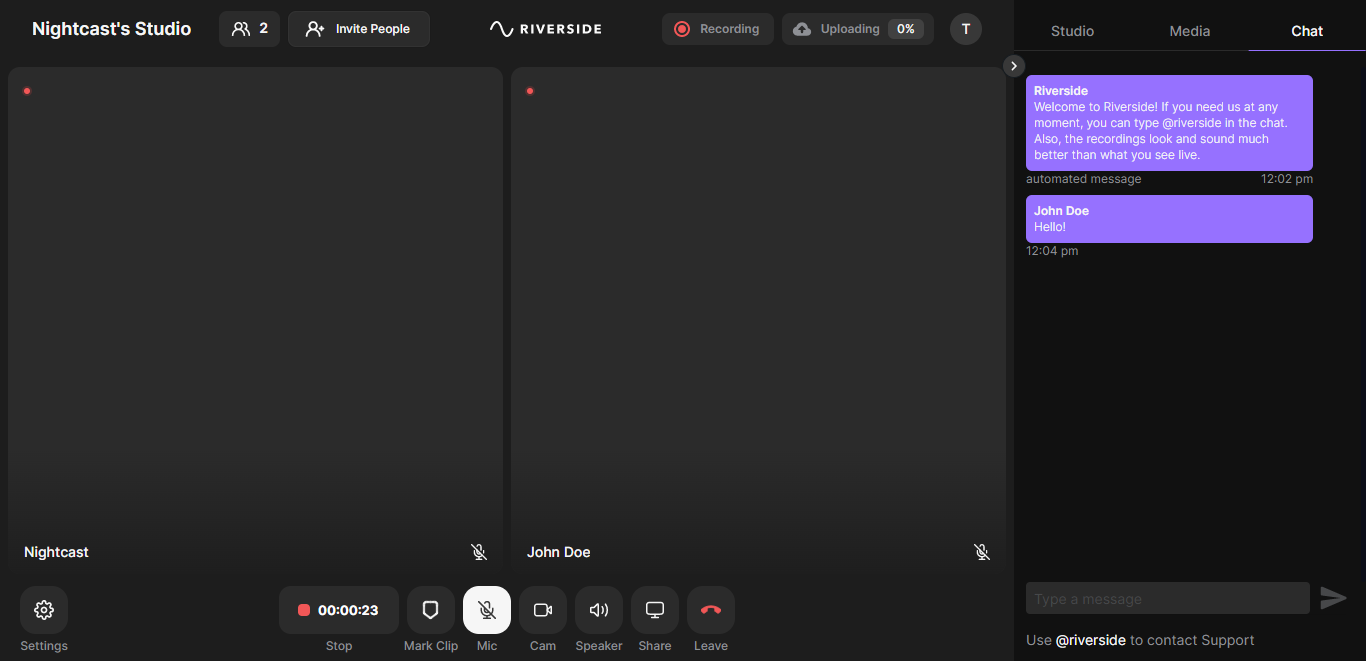
Press that and the recording starts! Well, there’s a countdown first…
During recording you can even use the chat feature to send off the air messages to the guests, for whatever reason.
While the recording goes on, Riverside, on the background, uploads all participants audio files on the cloud, so when the recording finishes you have access to them. You don’t have to ask the do anything else.
You forget about all the technical jargon and focus on recording the best content you can.
That’s what matters the most. Riverside will take care of recording the best possible audio it can.
You can watch the duration of the recording where the “Record” button used to be.
Stopping the recording
When you’re finished click on “Stop”. Done, everything got recorded.
You can press the “Leave” button and select “End session for all”.
After leaving make sure that you don’t close the page until Riverside notifies you the audio has finished uploading!
The guests will notified to not close the page, until it’s done too!
The finished recording page
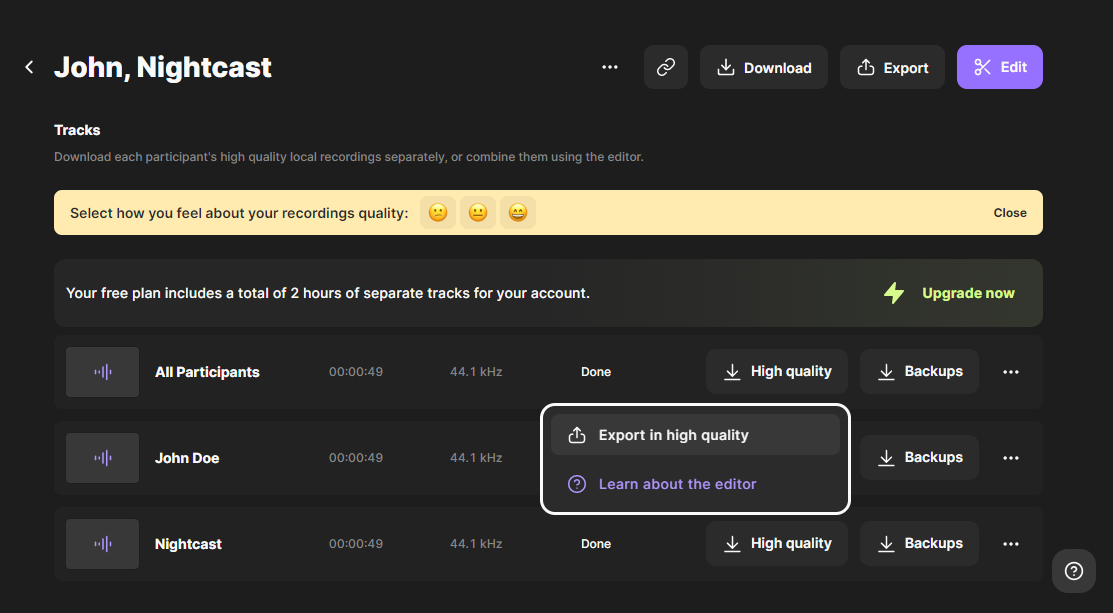
You’re on the finished recording page now, where you can see a summary about your recording.
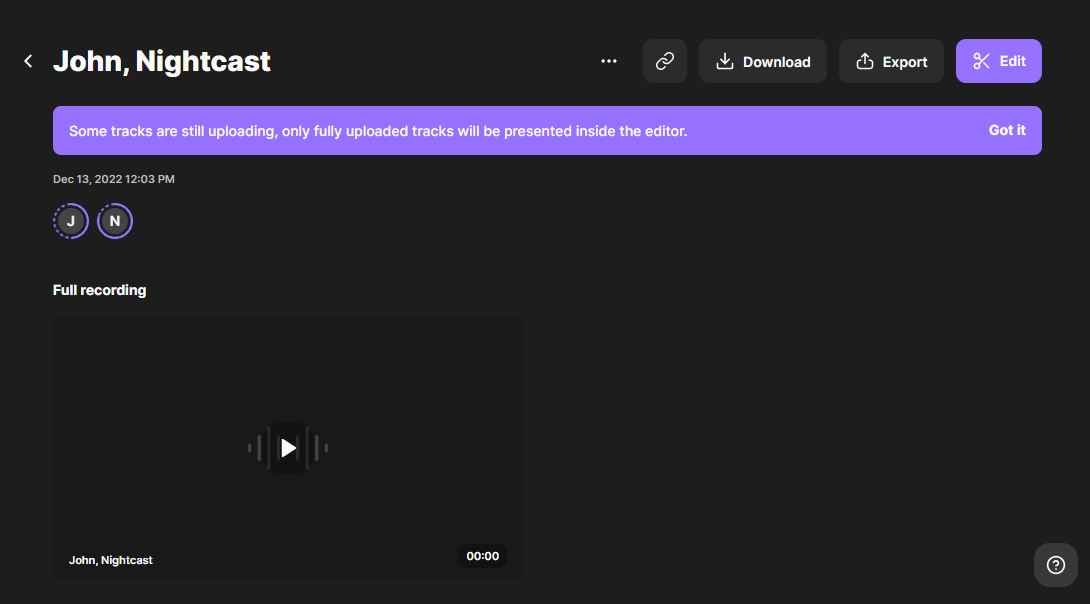
Scroll down and next to “All Participants” click the “High quality” button and select “Export in high quality”.
You can choose between “Story”, “Post” and “Full Length”. You can experiment with the first two as you’d like.
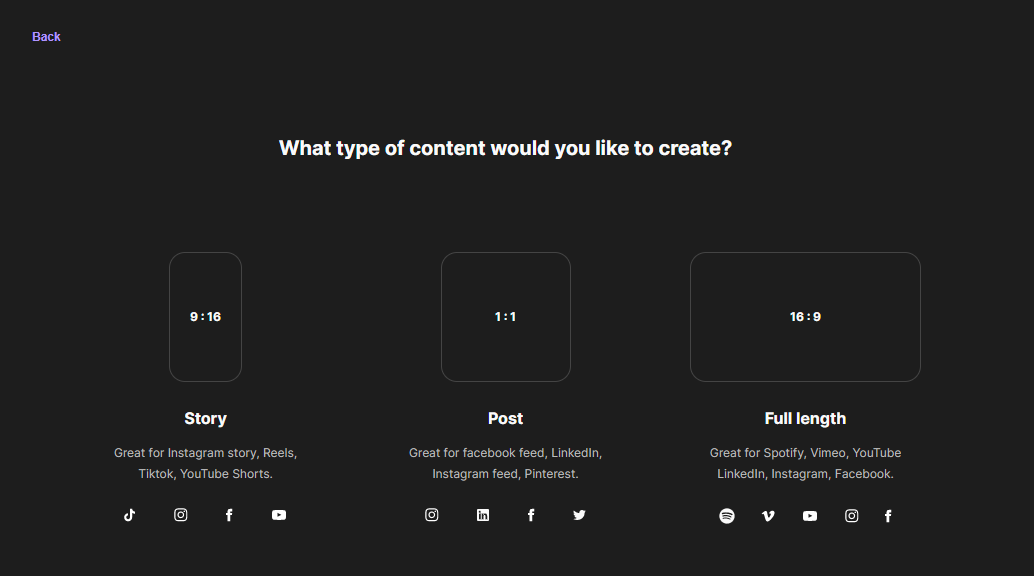
Since we want to upload our episode on a podcast host we will choose “Full Length”.
Next choose the big blue “Export” button up on top right and enter the following settings:
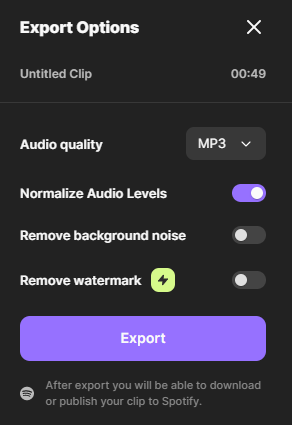
- Audio Quality: MP3
- Normalize Audio Levels: Checked
- Remove Background Noise: Checked if your or your guests microphone have a lot of noise
Click “Export”.
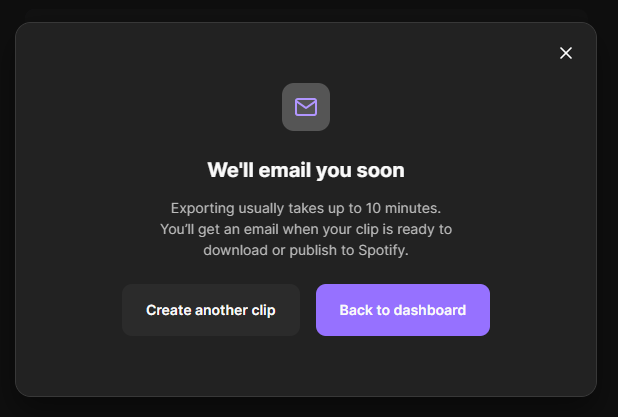
Riverside will notify you that it will email you soon with a link to download the recording.
Downloading the recording
You will receive an email, on the email address you registered with a link to get your final episode audio file.
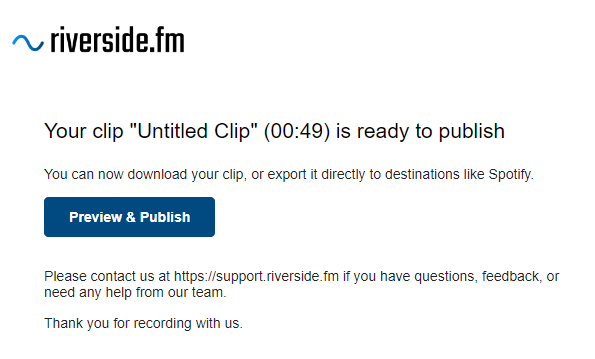
Click on the “Preview & Publish” link and you will be taken back to a page on Riverside.
Click the three dots next to the recording’s name and select “Download”.
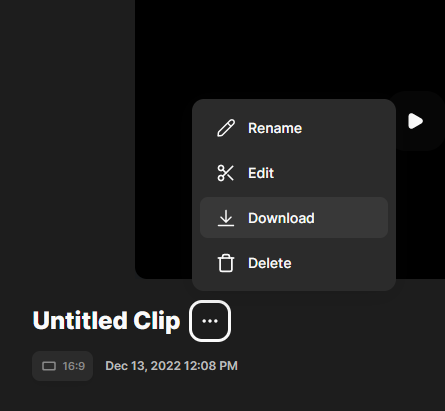
The audio file will get downloaded on your computer.
Upload your episode on your podcast host
It’s time to grab the episode and upload it on your podcast hosting platform so it gets distributed to listening apps like Spotify and Google Podcasts.
If you are using Nightcast you will do this in the dashboard.
Conclusion
You may be thinking all this is not that confusing and you’re right.
The recording-your-podcast-in-the-browser thing is surely simpler than downloading software on your and your guests computers and moving files around.
I’m pretty sure, after reading how easy it is to record your first episode, you feel more motivate to do so. Go make some awesome content!
Frequently Asked Questions
How much Riverside costs?
Riverside has a free plan for recording your podcast on the browser. However, depending on your needs you might need to check their paid plans for more features.
Do I need a credit card to get started?
No, they won’t ask you for your credit card details, unless you want to choose a premium plan.
Does browser podcast recording sound good?
Riverside records audio files in a very high audio format, so the audio depends on your microphone setup.
Can I export audio files for each participant separately?
Yes, if you want so, you can download each participant’s audio files separately from your browser so you can edit them however you like in your software of choice.
Are audio files exported with Riverside compatible with Nightcast?
Nightcast is a podcast hosting platform where you will host your audio files so they get distributed to podcast listening apps.
The audio files exported with Riverside are compatible. When uploading your episode you just choose your audio file exported by Riverside and it get’s uploaded correctly!
How can I get help on using Riverside?
You can use their Help Center or the question mark icon down right on their dashboard.
Also, most probably, you will find some interesting things to watch on their youtube channel.